

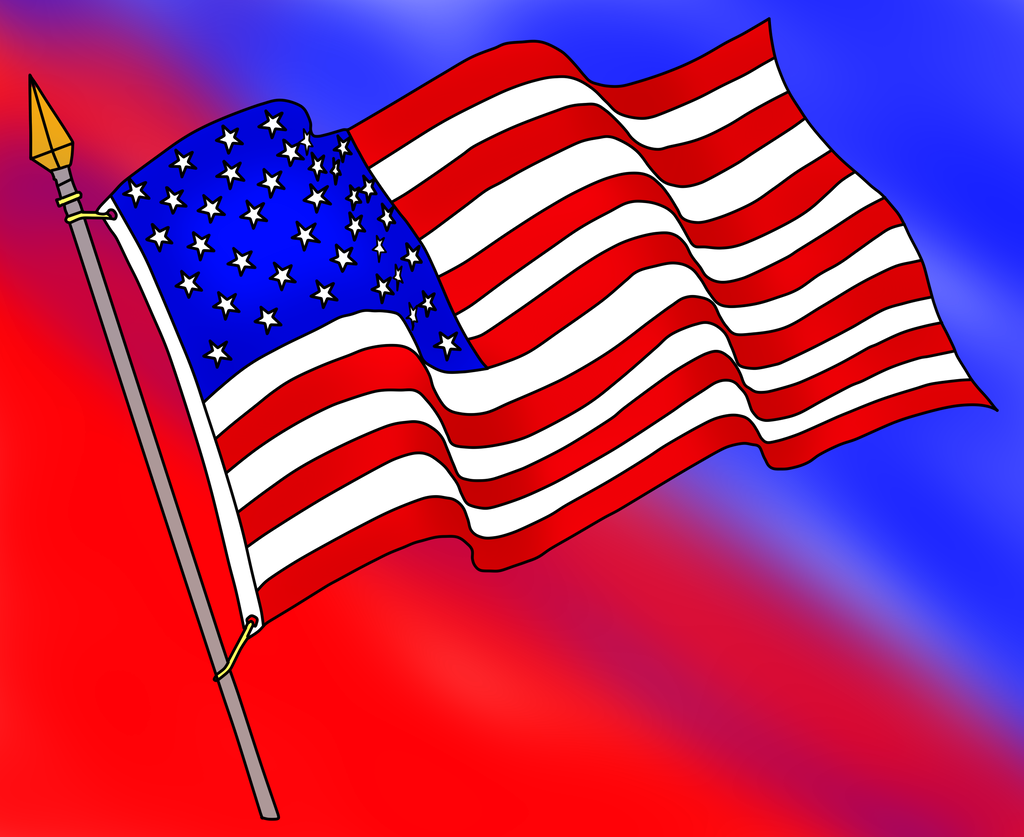
A Comprehensive Guide to Drawing the American Flag in Standard American English
The American flag, a symbol of national pride and unity, is a captivating subject for artists of all skill levels. Capturing its intricate details and vibrant colors requires a keen eye and a steady hand. This comprehensive guide will provide you with a step-by-step approach to drawing the American flag in standard American English, ensuring that you create a patriotic masterpiece.
Materials You’ll Need:
- Pencil (HB or 2B)
- Eraser
- Ruler or measuring tape
- Protractor (optional)
- Red, white, and blue colored pencils or markers
Step 1: Determine the Proportions
The American flag follows a specific aspect ratio of 10:19, meaning the width is always 10 units for every 19 units of height. Determine the desired size of your flag and calculate the appropriate measurements. For example, for a flag measuring 8 inches wide, the height would be 14.4 inches.
Step 2: Sketch the Outline
Using your pencil, lightly sketch the outline of the flag on your paper. Start by drawing a rectangle with the calculated measurements. Divide the rectangle into 13 equal horizontal stripes using a ruler or measuring tape.
Step 3: Create the Stars
In the upper left corner of the flag, draw a rectangle that is 5 units wide by 4 units tall. This will be the "canton" where the stars reside. Divide the canton into 9 equal squares.
Inside each square, draw a five-pointed star. You can use a protractor to ensure that the star points are evenly spaced. Start by drawing an "X" shape, then connect the tips with lines to form the star.
Step 4: Draw the Stripes
Using your colored pencils or markers, color in the stripes of the flag. Start with the topmost stripe, which is red. Alternate red and white stripes, ending with a red stripe at the bottom.
Step 5: Finalize the Canton
Fill in the canton with blue. Carefully draw 50 white stars inside the canton, arranged in a grid pattern. Ensure that the stars are evenly distributed and that they align with the squares drawn in step 3.
Step 6: Erase Guidelines and Outline
Once you are satisfied with your drawing, gently erase any pencil guidelines or outlines. Use a soft eraser to avoid damaging the paper.
Step 7: Add Shadows and Highlights (Optional)
To give your flag more depth and realism, consider adding shadows and highlights. Use a darker shade of blue for the shadows and a lighter shade for the highlights. Focus on areas where the folds and creases would naturally occur.
FAQ:
Q: How can I draw a perfect star without a protractor?
A: You can use the "Star of David" method. Draw two intersecting equilateral triangles with the same center point. The intersection points of the triangles will form the star points.
Q: What if I don’t have colored pencils or markers?
A: You can use paints, crayons, or even collage materials to create your flag. Be creative and experiment with different mediums.
Q: Can I draw the flag with different proportions?
A: Yes, but it will not be an accurate representation of the American flag. The official proportions are 10:19.
Q: How do I frame my drawing?
A: Once you have completed your drawing, you can frame it in a standard black or white frame. Consider using a matte to enhance the presentation.


